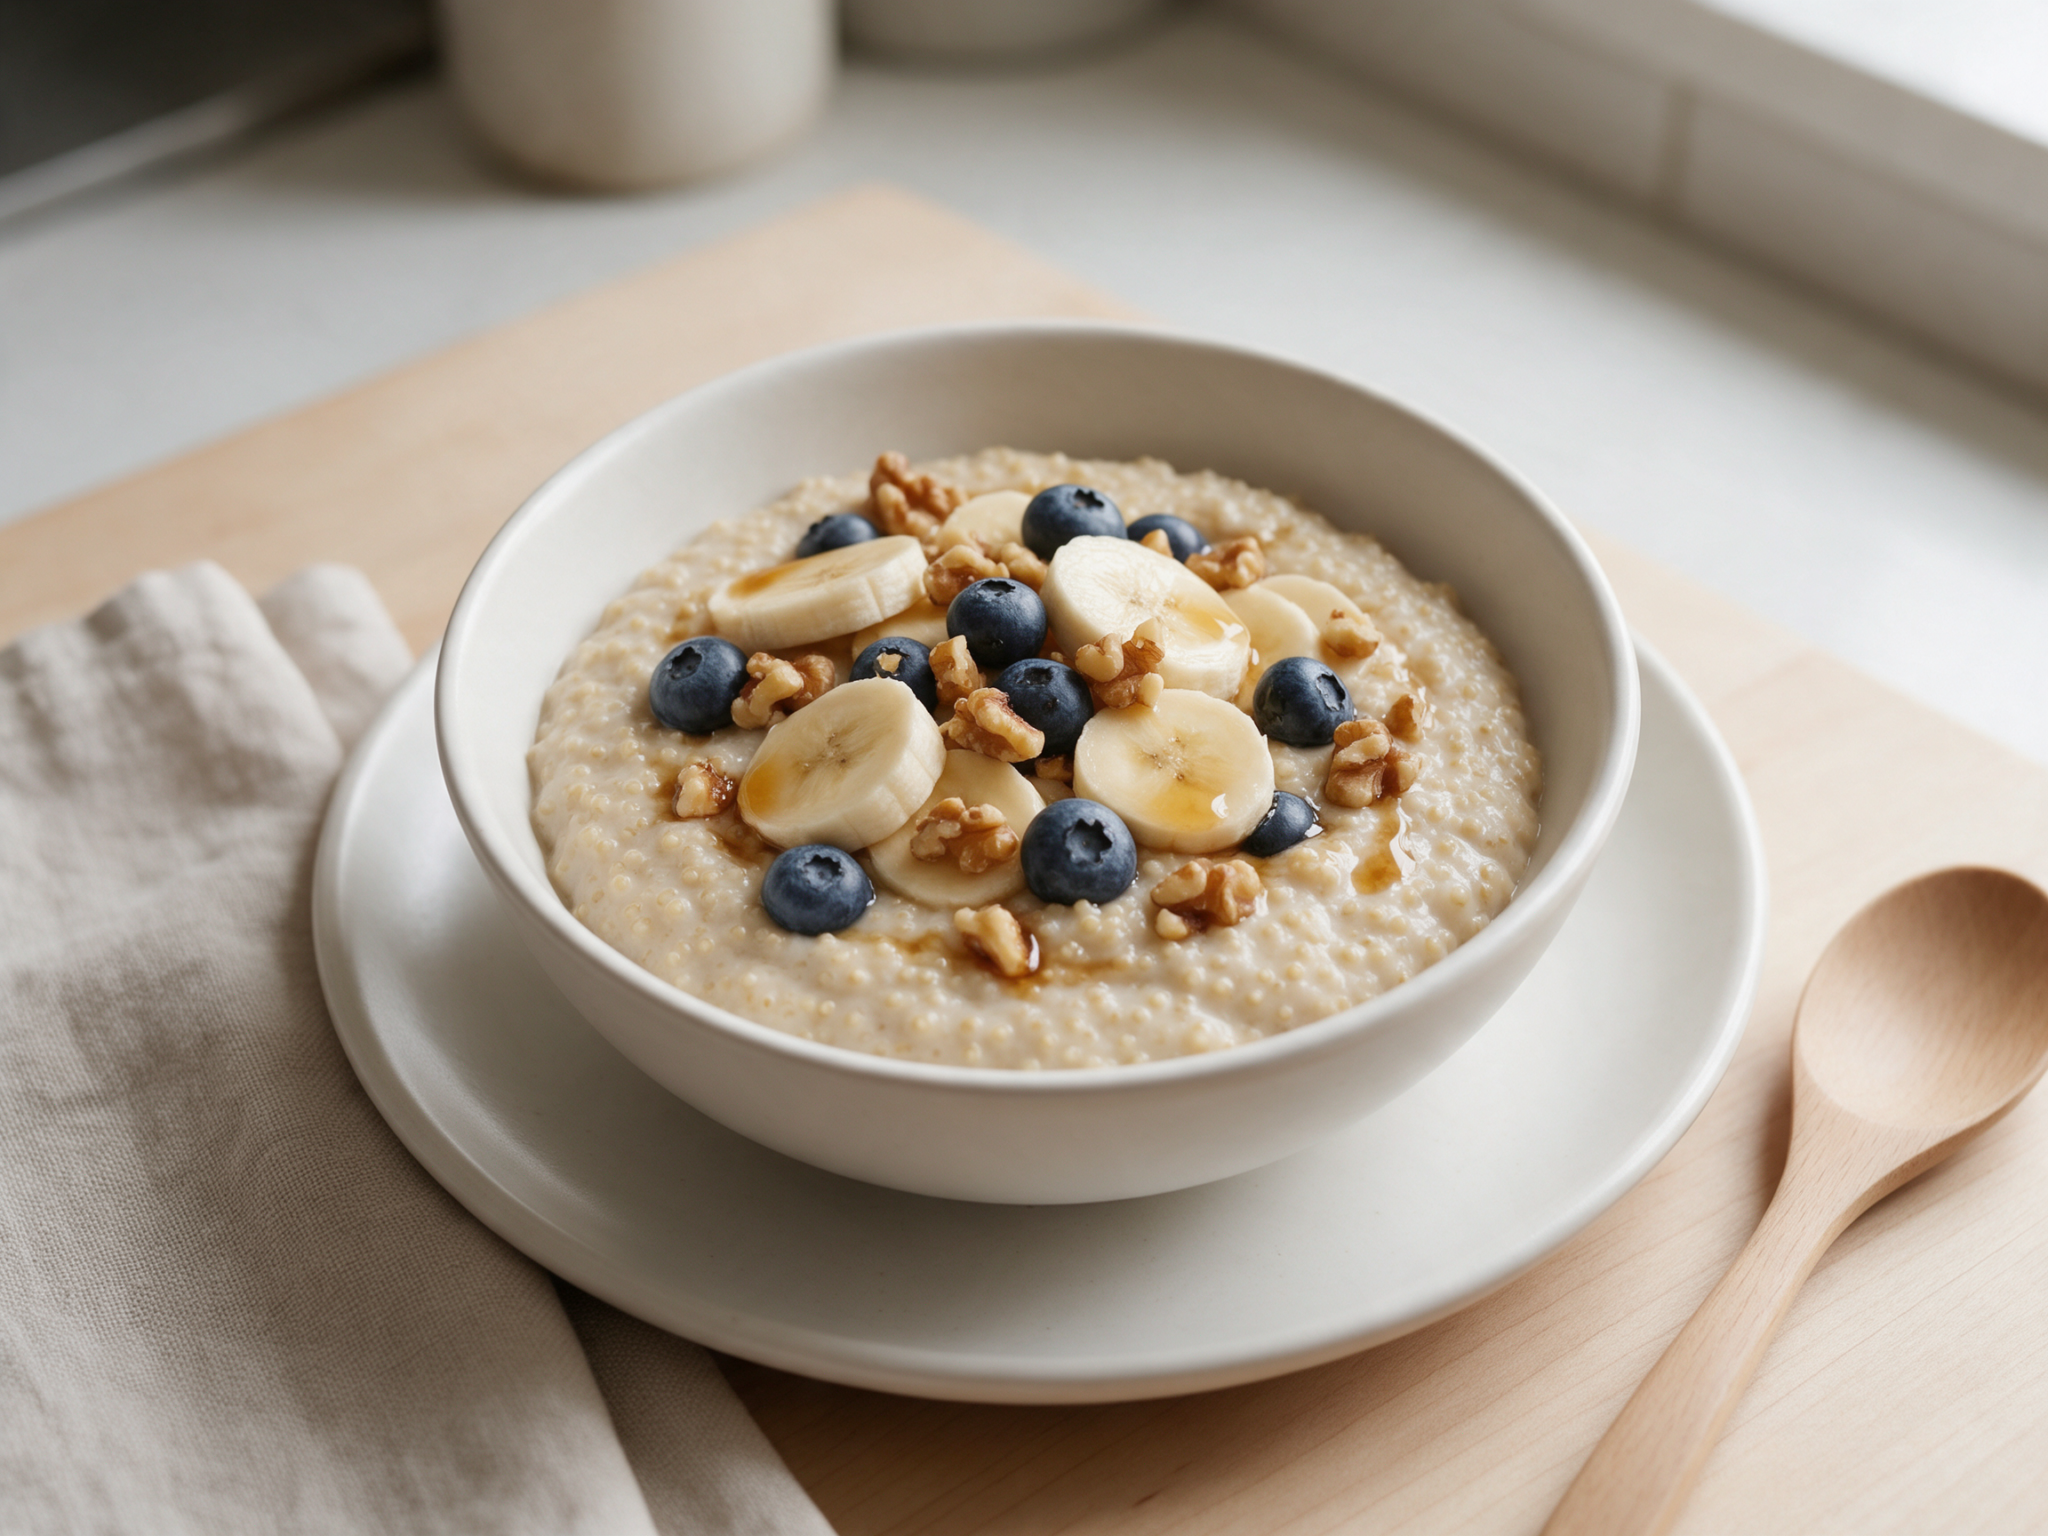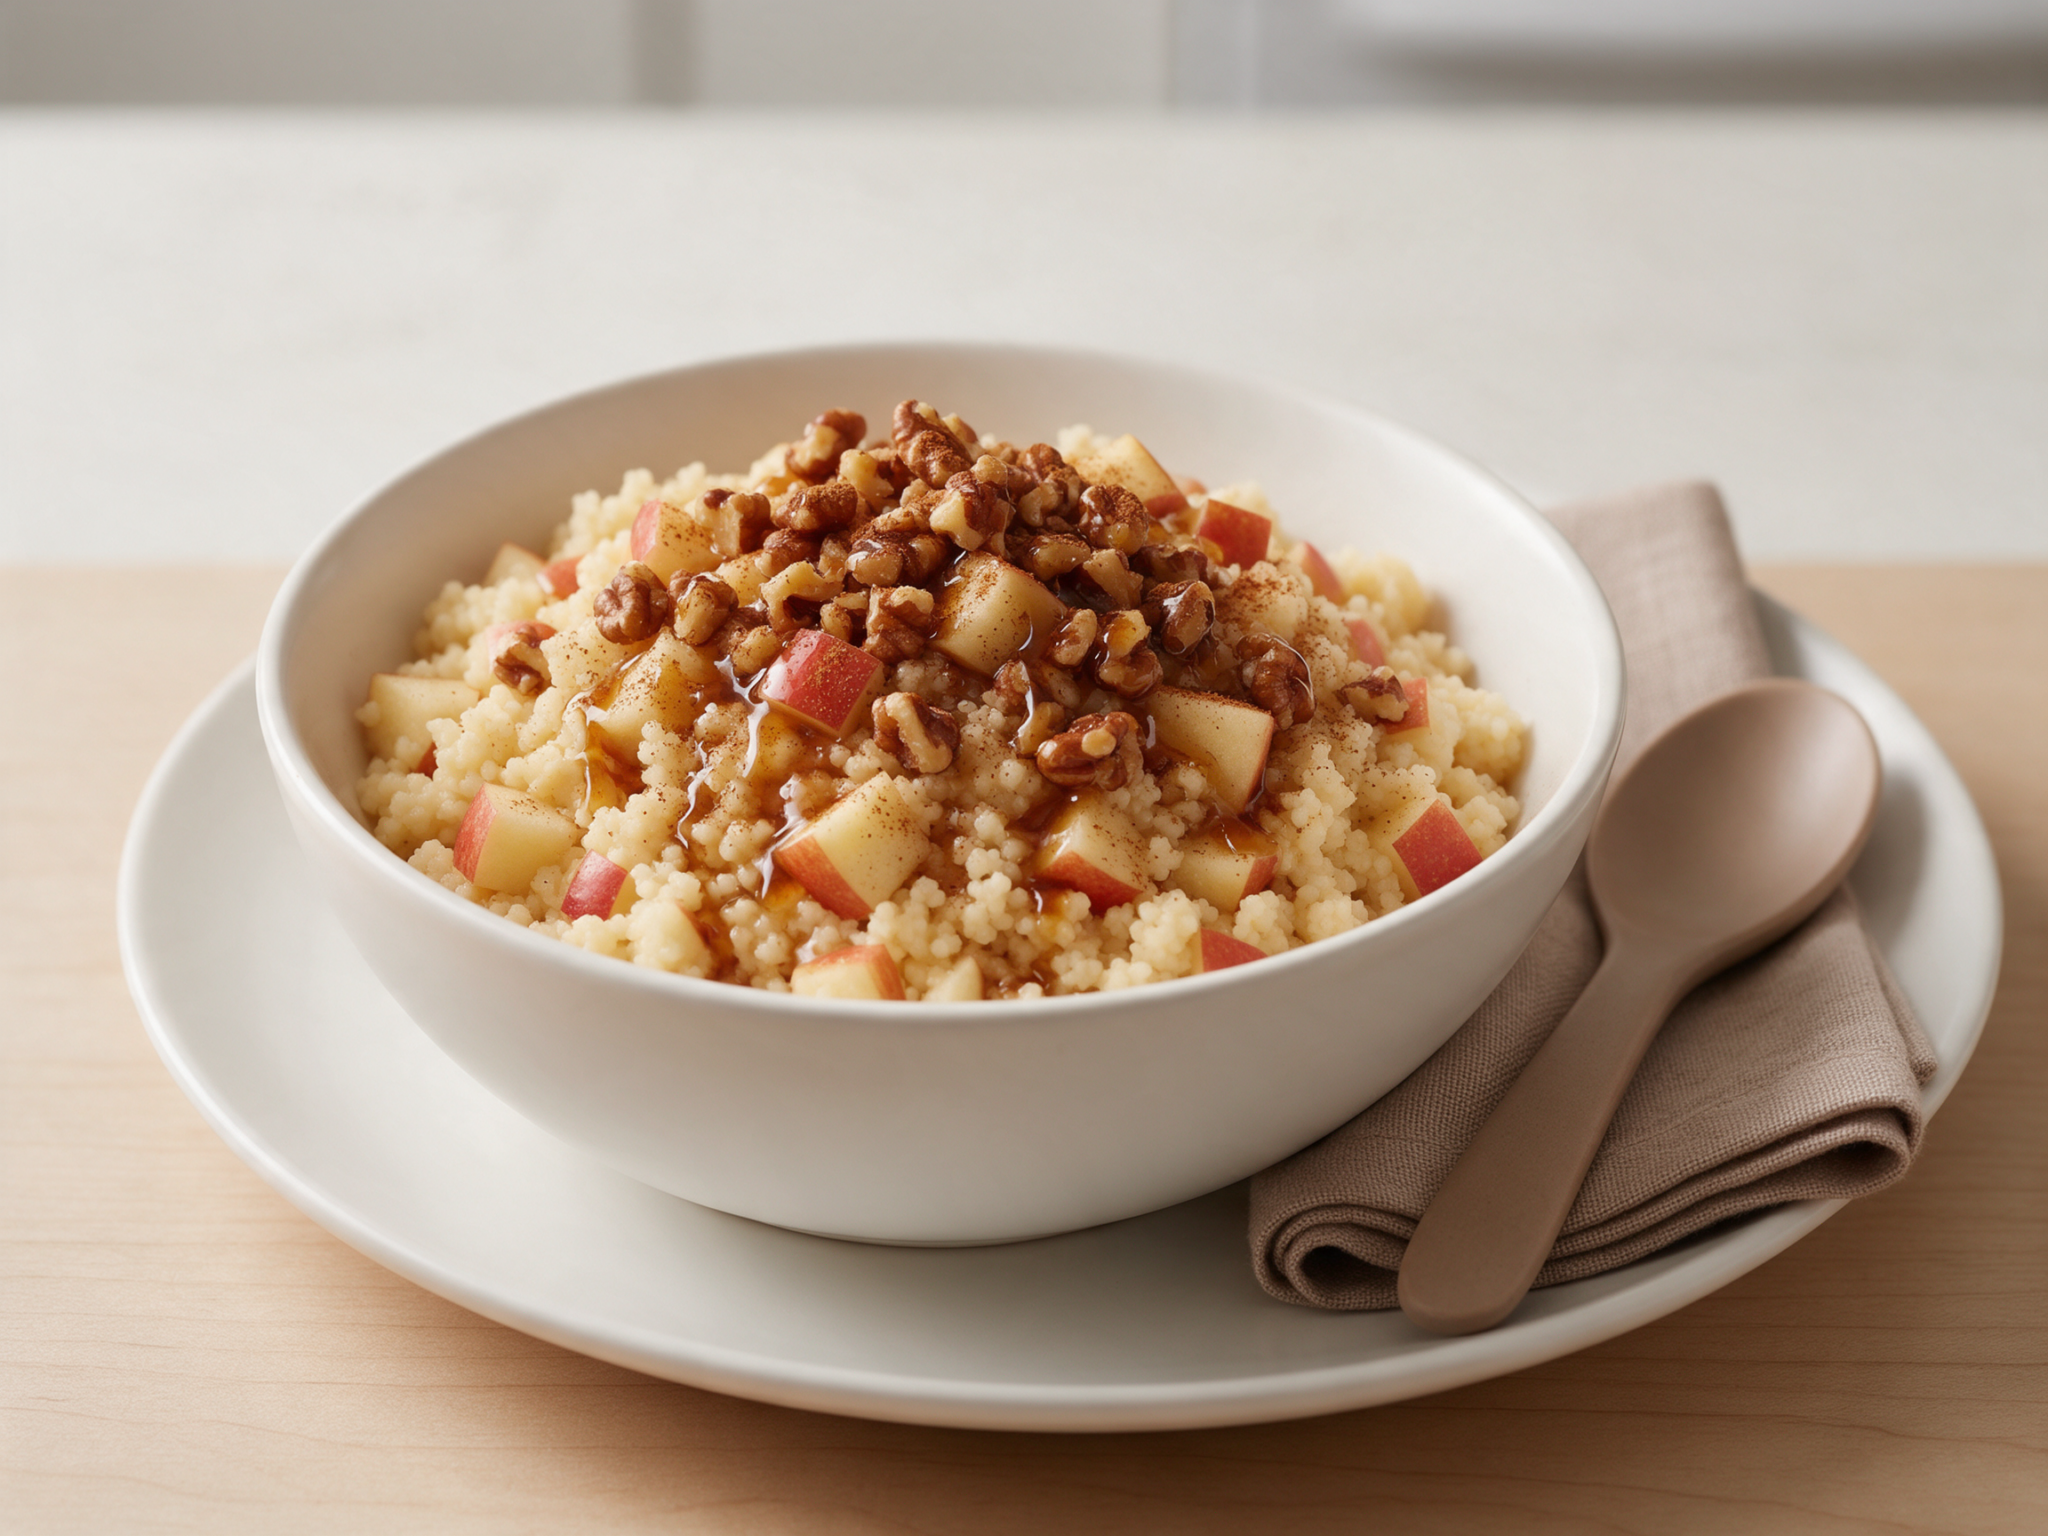
There’s something about waking up to the smell of sweet, nutty bananas mingling with oats that makes mornings instantly better. If your mornings feel rushed, or if you just need a grab-and-go breakfast, gluten-free banana nut breakfast bars might just become your new best friend. I’ve experimented in my kitchen, testing different ratios of bananas, oats, and nuts, until I found the perfect balance between flavor, texture, and nutrition.
These bars aren’t just breakfast—they’re a solution. They’re sweet enough to satisfy a craving, hearty enough to keep you full, and portable enough to toss in your bag before dashing out the door. And the best part? They’re gluten-free, plant-based, and utterly simple to make.
Why Gluten-Free Banana Nut Breakfast Bars Are a Must-Try
Let’s face it, mornings can be chaotic. Between getting the kids ready, commuting, or trying to fit in a quick workout, breakfast often falls by the wayside. But skipping breakfast doesn’t have to mean skipping flavor or nourishment. These bars are a lifeline: they combine ripe bananas, oats, and crunchy nuts into a bar that’s as satisfying as it is wholesome.
Ripe bananas are your secret weapon. Not only do they add natural sweetness, but they also help bind the bars without flour. Pair them with hearty oats, a sprinkle of cinnamon, and your favorite nuts, and you’ve got a bar that’s flavorful, chewy, and filling. Whether you’re looking for a quick snack between meetings or a breakfast option that won’t leave you hungry in an hour, these bars deliver.
Ingredients You’ll Love
I like to keep things simple, using ingredients that are easy to find and genuinely delicious. Here’s what you’ll need for a batch of these banana oatmeal bars:
- 3 large ripe bananas
- 2 cups rolled oats
- 1/2 cup chopped walnuts or pecans (or mix them for extra texture)
- 1/4 cup natural peanut butter or almond butter
- 2 tablespoons maple syrup or honey
- 1 teaspoon vanilla extract
- 1 teaspoon cinnamon
- 1/2 teaspoon baking powder
- Pinch of salt
Optional add-ins include chocolate chips, dried cranberries, or shredded coconut if you want to mix things up. I often add a handful of chocolate chips—it’s breakfast, but with a touch of indulgence.
Step-by-Step: Making Your Breakfast Bars
- Preheat the oven and prep your pan. Line an 8×8 inch baking pan with parchment paper. This makes it easy to lift the bars out later.
- Mash the bananas. In a large bowl, mash the ripe bananas until smooth. The riper, the better—overripe bananas are sweeter and more flavorful.
- Mix in wet ingredients. Stir in peanut butter, maple syrup, and vanilla extract. Make sure everything is evenly combined.
- Combine dry ingredients. In a separate bowl, mix the oats, cinnamon, baking powder, and salt. Fold in your nuts.
- Combine wet and dry. Pour the oat mixture into the banana mixture. Stir until evenly combined. It will look thick and a bit sticky—that’s perfect.
- Spread in pan and bake. Pour the batter into the prepared pan and flatten the top. Bake at 350°F (175°C) for 25-30 minutes, until the top is golden and firm to the touch.
- Cool and slice. Let the bars cool completely before slicing into squares or rectangles. This ensures they hold together nicely.
Tip: Store them in an airtight container for up to a week, or freeze for longer storage. They’re perfect for busy mornings or afternoon snacks.
Variations You’ll Enjoy
One of the best things about banana nut breakfast bars is how flexible they are. You can:
- Swap walnuts for almonds or cashews.
- Use almond butter instead of peanut butter for a different flavor.
- Add cocoa powder for a chocolatey twist.
- Toss in dried fruit like cherries or raisins for a fruity kick.
These tweaks keep the bars fresh and exciting, so you never get bored. Personally, I like the combination of dark chocolate chips with walnuts—it’s simple but delicious.
Health Benefits of These Bars
These bars do more than taste good—they pack a nutritional punch.
- Bananas provide potassium, fiber, and natural sweetness.
- Oats are rich in fiber and slow-digesting carbs that keep you full longer.
- Nuts offer healthy fats and protein, making the bars more satiating.
- Gluten-free means these bars are accessible to anyone avoiding wheat, while still staying filling and satisfying.
For those following a plant-based lifestyle, swapping honey for maple syrup keeps everything vegan-friendly. You’ll get breakfast that’s sweet, healthy, and convenient, all in one.
Perfect for Every Occasion
These bars aren’t just breakfast—they’re a versatile snack. Pack them in your lunchbox, bring them on a hike, or enjoy them post-workout. They travel well, and because they’re flourless, they’re naturally hearty and filling.
They’re also great for kids. My nieces and nephews love these bars as an after-school snack. They think they’re getting a treat, but I know they’re getting a nutritious boost.
Why I Love Flourless Banana Bars
Making flourless banana bars has become a little ritual for me. There’s something satisfying about mashing ripe bananas, stirring in oats, and creating bars that taste homemade but hold up to busy schedules. No fuss, no extra ingredients, just pure, wholesome goodness. Plus, it’s a forgiving recipe—you can experiment without fear of failure.
I often hear people say they can’t bake because recipes feel too complicated. This one proves otherwise. One bowl, simple ingredients, and a delicious result. It’s approachable and comforting, just like desserts should be.
Quick Tips for the Perfect Bars
- Use really ripe bananas. The sweeter, the better.
- Don’t overmix. Stir until combined, then stop. Overmixing can make bars tough.
- Experiment with textures. Add seeds, coconut flakes, or extra nuts if you want crunch.
- Slice after cooling. This prevents crumbling.
With these tips, you’ll get bars that are chewy, slightly sweet, and perfectly baked every time.
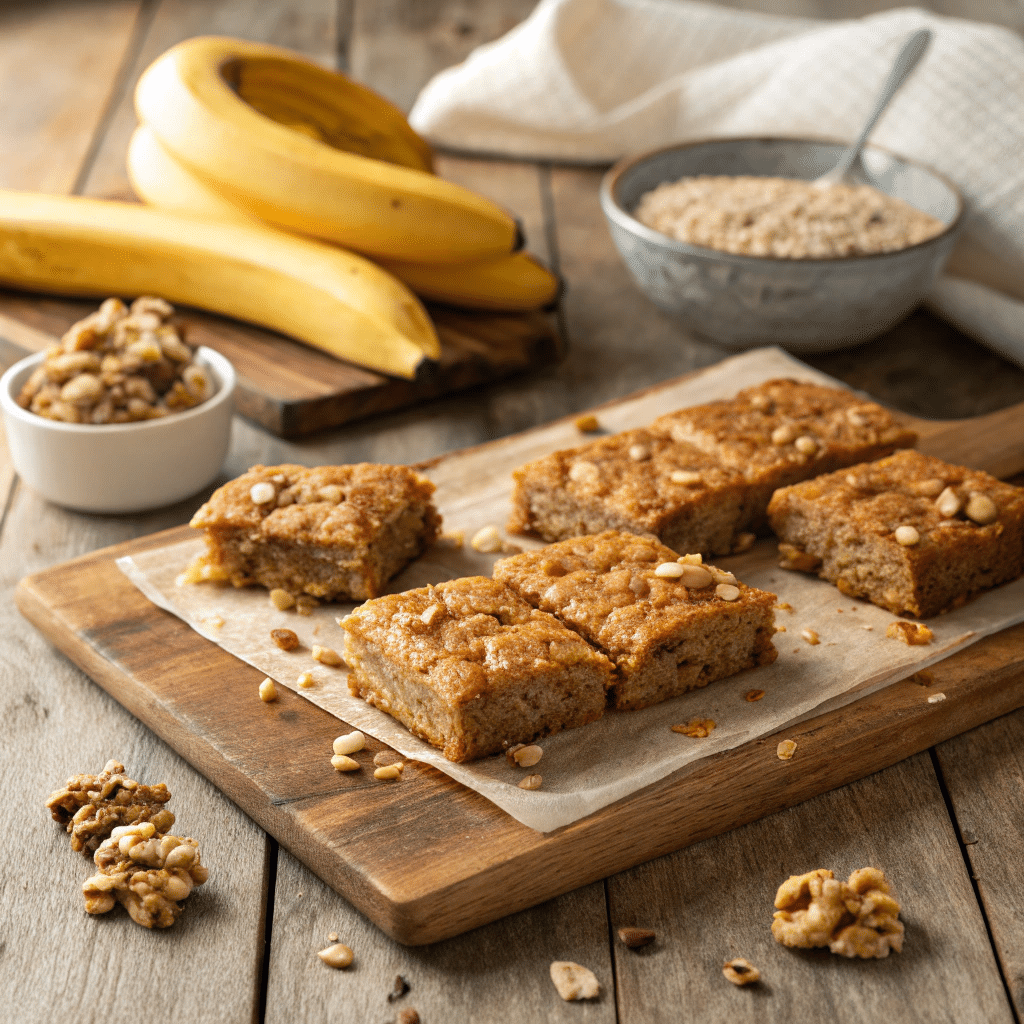
Gluten-Free Banana Nut Breakfast Bars
Ingredients
Method
- Preheat the oven to 350°F (175°C) and line an 8×8 inch baking pan with parchment paper.
- Mash the bananas in a large bowl until smooth.
- Add wet ingredients: stir in peanut butter, maple syrup, and vanilla extract until combined.
- Combine dry ingredients: in a separate bowl, mix oats, cinnamon, baking powder, salt, and chopped nuts.
- Mix together: fold the dry ingredients into the banana mixture until evenly combined.
- Spread in the pan: pour the batter into the prepared pan and flatten the top with a spatula.
- Bake for 25–30 minutes, until the top is golden and firm to the touch.
- Cool and slice: let the bars cool completely before cutting into squares or rectangles.
Notes
- Make sure to use ripe bananas for natural sweetness and soft texture.
- Bars can be stored in an airtight container for up to a week or frozen for longer.
- Optional add-ins like chocolate chips or dried fruit can make the bars more fun and flavorful.
- Slice bars after they cool completely to avoid crumbling.
FAQ About Gluten-Free Banana Nut Breakfast Bars
Q1: Can I make these bars ahead of time?
Absolutely! These bars are perfect for meal prep. Bake them on Sunday, store them in an airtight container, and you’ll have grab-and-go breakfast or snacks ready all week. You can also freeze them for up to 2 months—just thaw for a few minutes before eating.
Q2: Can I substitute the nuts?
Yes! If you’re allergic to nuts or just prefer something different, sunflower seeds or pumpkin seeds work beautifully. They add crunch and protein while keeping the bars wholesome.
Q3: Can I make these bars vegan?
Yes. Simply use maple syrup instead of honey, and stick with plant-based nut butter. The bars stay just as chewy, sweet, and satisfying.
Q4: Are these bars healthy for kids?
Definitely. Kids love the natural sweetness of bananas and the chewiness of oats. They’re filling, nutritious, and easy to pack for lunchboxes or after-school snacks.
Q5: How can I make these bars more chocolatey?
Add 1/4–1/2 cup dark chocolate chips or cocoa powder to the batter. Chocolate and banana are a classic combo, and it makes the bars feel indulgent without being over the top.
Q6: Can I use quick oats instead of rolled oats?
Yes, but the texture will be slightly softer. Rolled oats give the bars a chewier bite, which I personally prefer, but quick oats work in a pinch.
Q7: What makes these bars gluten-free?
The recipe uses oats and bananas as the main ingredients, with no wheat or flour added. Just make sure to use certified gluten-free oats if you’re cooking for someone with celiac disease or gluten sensitivity.
Q8: Can I add other flavors or spices?
Certainly! Cinnamon, nutmeg, or a pinch of ginger can add warmth and depth. You can also toss in dried fruit like cranberries or raisins for a fruity twist. Experiment until you find your favorite combo!