If you’re anything like me, you love a crunchy snack — but sometimes potato chips feel… too heavy. That’s where baked kale chips with seasoning come in. They’re light, crisp, salty, and surprisingly satisfying. Better yet: you can make them at home in just a few steps.
Here’s how I make my favorite homemade kale chips, plus why they’re such a healthy treat, and a few fun seasoning ideas to try.
Why Kale Chips Are a Smart Snack
Kale isn’t just trendy — it’s truly nutrient-dense. When you bake it into chips, you retain a lot of its goodness, even though some sensitive nutrients might drop. Livestrong+1
Here are some nutritional highlights:
- They’re rich in vitamin K, which supports bone health and blood clotting. HealthifyMe+1
- Kale chips also give you B vitamins (like B6, B2, B1), which help your body convert food into energy. Healthy Food
- There’s plenty of fiber, which helps keep you full and supports digestion. Mycorefood+1
- They provide antioxidants like lutein and quercetin — helpful for inflammation and long-term health. Mycorefood
- Compared to store-bought potato chips, homemade baked kale chips are much lower in calories (e.g. about 30–50 kcal per cup, depending on oil and seasonings). Cully’s Kitchen+1
All that said, because you bake them at a moderate temperature, some heat-sensitive nutrients (like vitamin C) do reduce. Superfoodly But even with that, you’re still snacking way smarter than on fried chips.
My Go-To Baked Kale Chips Recipe (Oven Method)
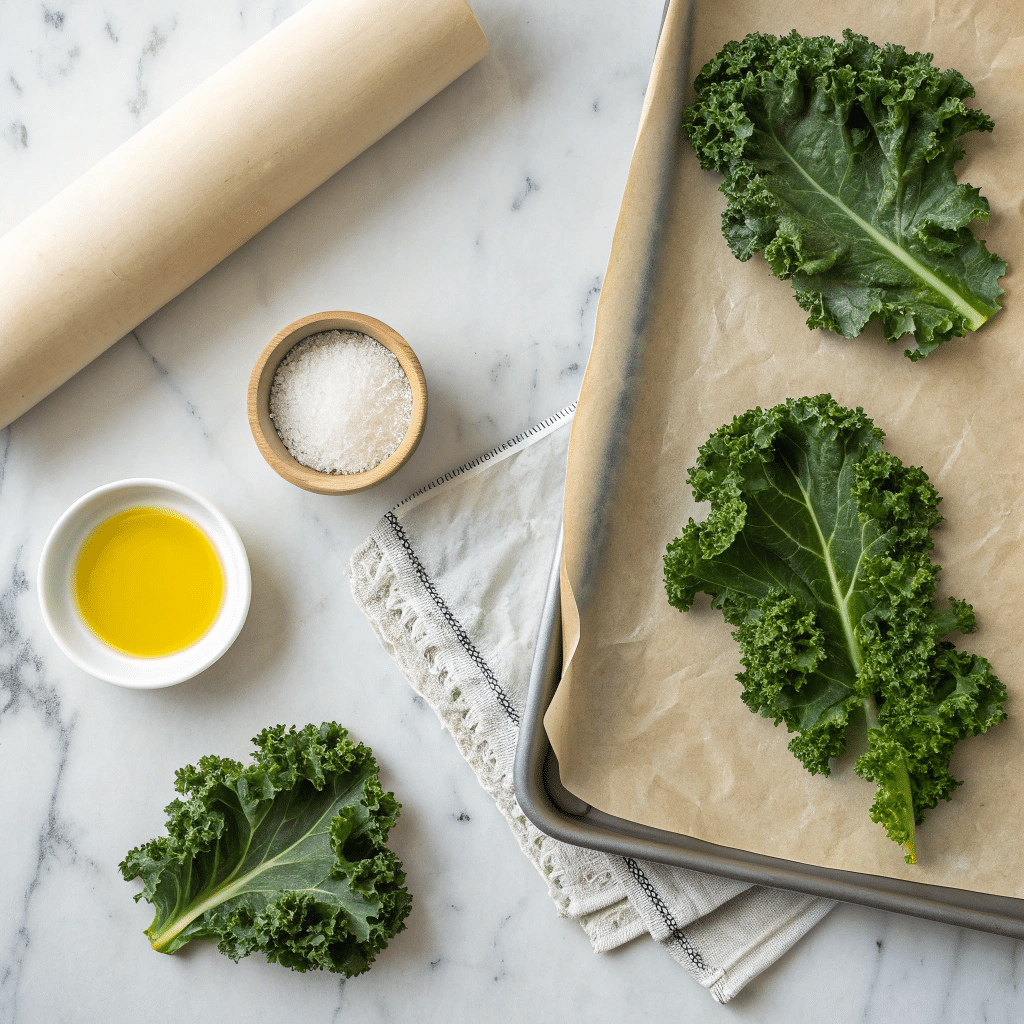
Here’s what I do when I want easy, no-fail baked kale chips. This is my base recipe — and you can tweak the seasoning however you like.
Ingredients
- 1 large bunch of kale (curly or Lacinato both work)
- 1–2 tablespoons extra-virgin olive oil (or other mild oil)
- ½ teaspoon fine salt (adjust to your taste)
- Optional seasonings (see ideas below)
Instructions
- Prepare the Kale
Remove the tough center stems from the kale leaves (they don’t crisp well). Tear the leaves into bite-size pieces. - Wash & Dry
Rinse the kale well to remove any grit. Use a salad spinner or pat dry with clean towels. Very important: dry kale = crisp chips. - Oil & Season
Place the kale in a big bowl. Drizzle with olive oil. Then sprinkle with salt and your chosen seasonings. Use your hands to massage the oil + seasonings into the leaves gently — this helps every leaf get a little coating. - Arrange on Baking Sheet
Spread the leaves in a single layer, not overlapping. Use parchment paper so they don’t stick. - Bake
Preheat your oven to about 300 °F (150 °C). Bake for ~10–15 minutes. Keep an eye on them — when the edges start to brown (but not burn), they’re ready. nutritionaltherapyforibd.org+1 If you’re using two trays, you can rotate them halfway through (top ↔ bottom, front ↔ back) so they bake evenly. Purdue Extension - Cool & Store
Let the kale chips cool on the sheet for a few minutes — they crisp up as they cool. Store leftovers in an airtight container or a zip-lock bag (press out as much air as you can). K-State Research and Extension
Seasoning Ideas & Variations
Part of the fun with kale chips is how customizable they are. Here are a few of my favorite seasoning combos:
- Classic salty: Just salt + a tiny drizzle of olive oil
- Smoky garlic: Garlic powder + smoked paprika + a pinch of onion powder Dietitian Debbie Dishes
- Parmesan kale chips: Right after baking, sprinkle with finely grated Parmesan cheese. Budgets that cheesy, salty punch.
- Spicy kick: Use chili flakes or cayenne + a bit of lime zest
- Cheesy vegan: Dust with nutritional yeast + a touch of garlic powder (for that “cheesy” umami)
You can mix and match. For instance, try garlic + cumin or onion powder + paprika — whatever mood you’re in.
Tips to Get Perfect Crunch
- Dry is non-negotiable: If kale has even a little moisture, the leaves steam instead of crisping.
- Avoid overcrowding the tray: Overlapping leaves = soggy chips.
- Watch the oven: Temperatures and baking times can vary by oven. Keep your eye on them starting at 8 minutes if you’re unsure.
- Rotate your pans: As mentioned, swap positions halfway through baking if you’re using more than one sheet.
- Let them cool: They’ll firm up as they rest. Don’t rush to taste (but, I totally understand the temptation).
Health Benefits to Highlight (for Your Readers)
- These homemade kale chips are a better-for-you snack alternative to fried or processed chips.
- They support bone health (thanks to high vitamin K) and heart health (fiber + antioxidants). benefits-of-things.com
- Because they’re light, crunchy, and portable, they make great veggie snacks for mid-afternoon nibbling or even lunchboxes.
- They’re low in calories but satisfying. Keeping a bowl around means you’re less likely to reach for sugary or greasy snacks.
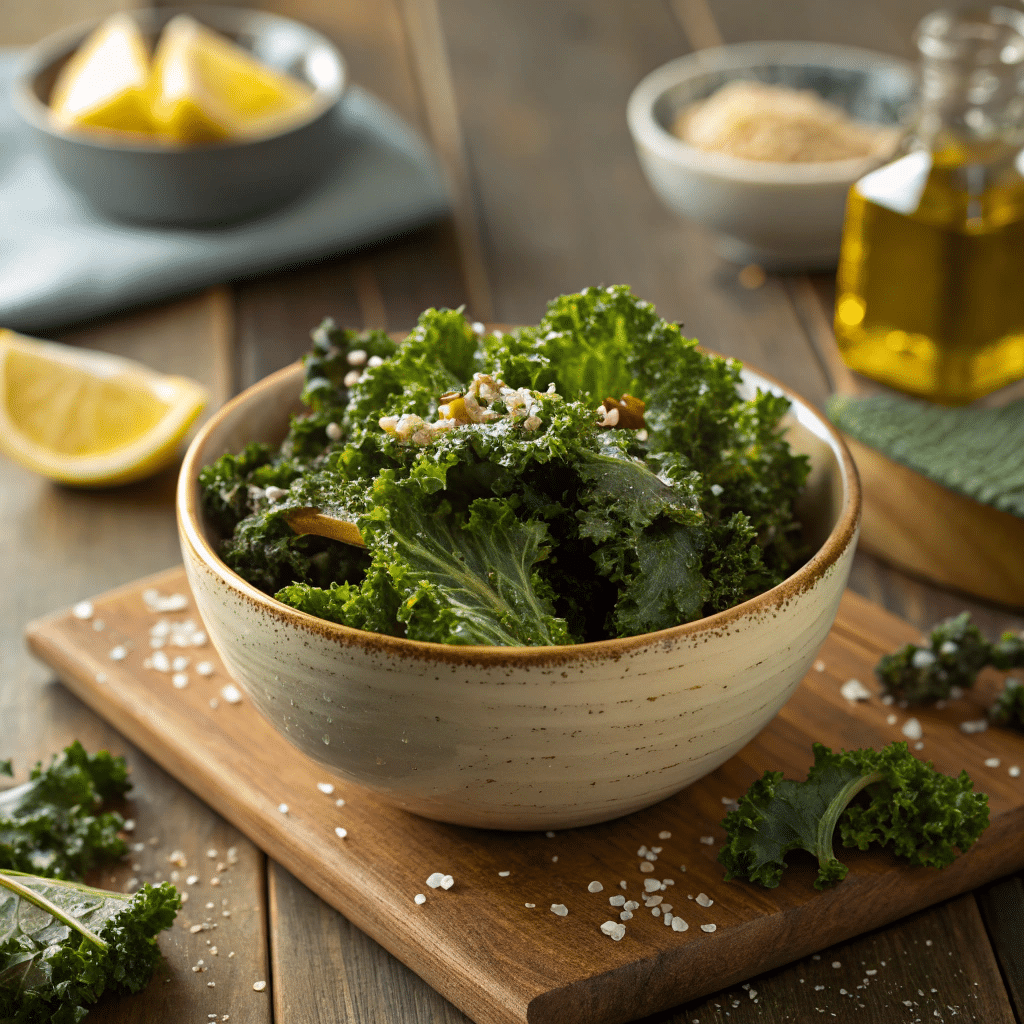
Baked Kale Chips with Seasoning
Ingredients
Method
- Strip the leaves from the thick stems. Tear the leaves into medium pieces.
- Rinse the kale well, then dry it fully. Use a salad spinner or towels. Dry leaves are key for crisp chips.
- Add the kale to a large bowl. Drizzle with olive oil. Sprinkle on the salt and any extra seasoning. Use your hands to gently coat the leaves.
- Line a baking sheet with parchment. Spread the kale in one layer. Don’t stack the leaves.
- Heat your oven to 300°F (150°C). Bake for 10–15 minutes. Check at the 10-minute mark. They should look crisp at the edges but not burnt.
- Let the chips cool on the sheet. They crisp up even more as they cool.
- Keep leftovers in a sealed container or a zip-bag with most of the air pressed out.
Notes
- If your chips brown too fast, lower the heat for the next batch. Every oven behaves a little differently.
- If you want them extra crispy, bake them on two trays and rotate them halfway through.
- Parmesan should be added right after baking so it melts just a bit and sticks to the chips.
- Don’t use too much oil. A little goes a long way. Too much oil makes the kale limp instead of crisp.
FAQ — Your Questions, Answered
Q: Will baking destroy all the nutrients in kale?
A: Not at all. While heat does reduce some sensitive vitamins like vitamin C, baked kale chips retain plenty of nutrients — including vitamin K, fiber, and beneficial plant compounds. Livestrong
Q: Can I make kale chips without oil?
A: Yes — you can go oil-free. Use a spray bottle to very lightly mist the leaves, or just use a pinch of salt and bake at a lower temperature. (Some people also use a silicone mat to prevent sticking.)
Q: My chips got burnt / too brown. Help.
A: Next time, bake at a slightly lower temp, or check them 2–3 minutes earlier. Use parchment paper and rotate your tray if needed.
Q: How long do kale chips last?
A: When stored in an airtight container (with as much air pressed out as possible), they’ll stay crisp for about 2–3 days. Dietitian Debbie Dishes
Q: Can I use other greens, like spinach or Swiss chard?
A: You can try — but kale is ideal because of its sturdy leaves. More delicate greens may wilt more and won’t crisp up in quite the same way.
Final Thoughts
Baked kale chips with seasoning are proof that healthy doesn’t have to mean boring. They’re crunchy, savoury-snack magic — and honestly, once you try them, you might forget you’re eating vegetables. I love having a big bowl around when I’m doing recipe tinkering in my kitchen or just looking for a lighter snack.
Give them a try. Mix up those seasonings. And let me know which combo becomes your go-to!