Jump to Recipe
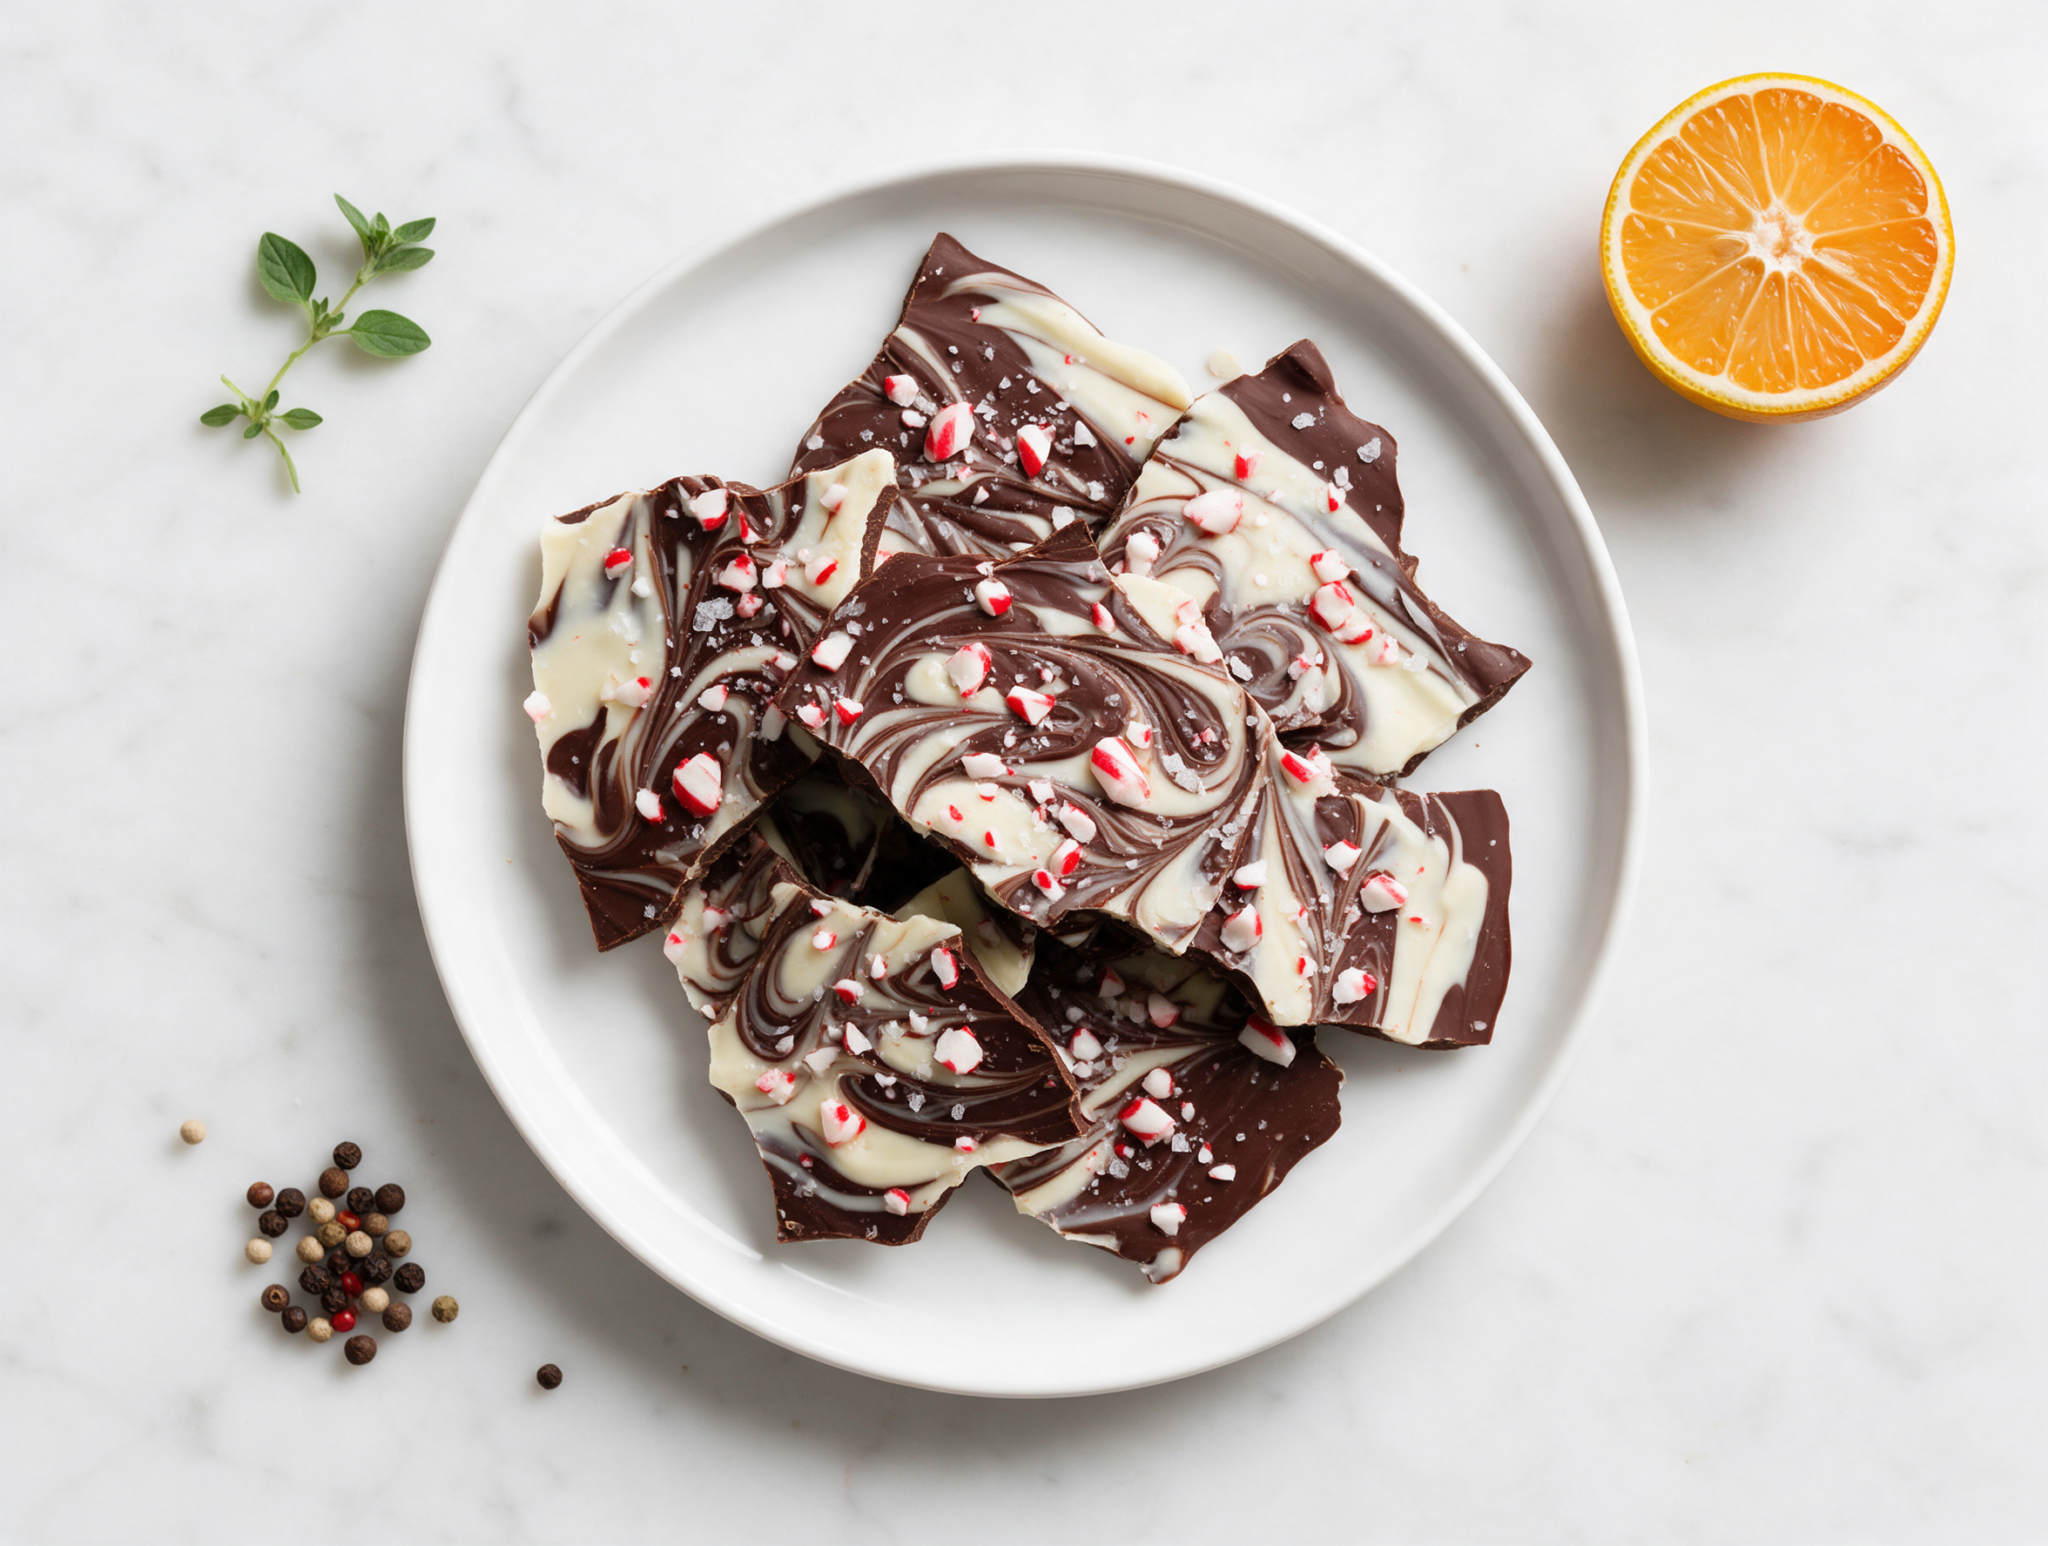
Sugar-Free Peppermint Chocolate Bark is a two-ingredient swirl of melted chocolate and crushed candy canes, chilled until it snaps clean when you break it.
I’ll be honest, I used to skip peppermint bark around the holidays the same way I’d pass on a rich sugar-free blackberry almond galette because the sugar spike made me regret the second piece. This version uses sugar-free chocolate chips sweetened with erythritol or stevia, so you get the same snap and cool peppermint hit without the crash after.
It’s simple. Melt, swirl, sprinkle, chill. No candy thermometer, no oven, no fuss.
The dark and white layers marble together instead of forming neat stripes, and that’s the point. Uneven swirls look homemade and taste just as good.
Why You’ll Love This Recipe
- Ready in about 50 minutes with zero baking required
- Sugar-free chocolate keeps it low-carb and easy on blood sugar
- Crushed candy canes add crunch and cool peppermint flavor
- Keeps well in the fridge for up to two weeks
Ingredient Notes
- sugar-free dark chocolate chips: Use chips or a chopped bar sweetened with erythritol or stevia, like Lily’s or ChocZero. Regular 70% dark chocolate works if sugar-free isn’t a requirement.
- sugar-free white chocolate chips: These melt a bit slower than dark chocolate, so watch them closely. Regular white chocolate works fine if you don’t need it sugar-free.
- peppermint extract: It’s stronger than vanilla, so measure carefully. Peppermint oil works too, use half the amount.
- sugar-free candy canes: Crush them in a sealed bag with a rolling pin. Regular candy canes work if you’re not avoiding sugar.
- flaky sea salt: Optional, but it cuts the sweetness nicely. Skip it if you’re serving kids who want it straight sweet.
Homemade Sugar-Free Peppermint Chocolate Bark
Ingredients
Method
- Line a 9×13-inch / 23x33cm sheet pan with parchment paper, leaving a slight overhang on two sides for easy lifting later.
- Add the sugar-free dark chocolate chips to a microwave-safe bowl. Microwave in 30-second bursts, stirring after each, until fully melted and smooth, about 90 seconds total (chocolate should reach 45 to 50 C / 113 to 122 F).
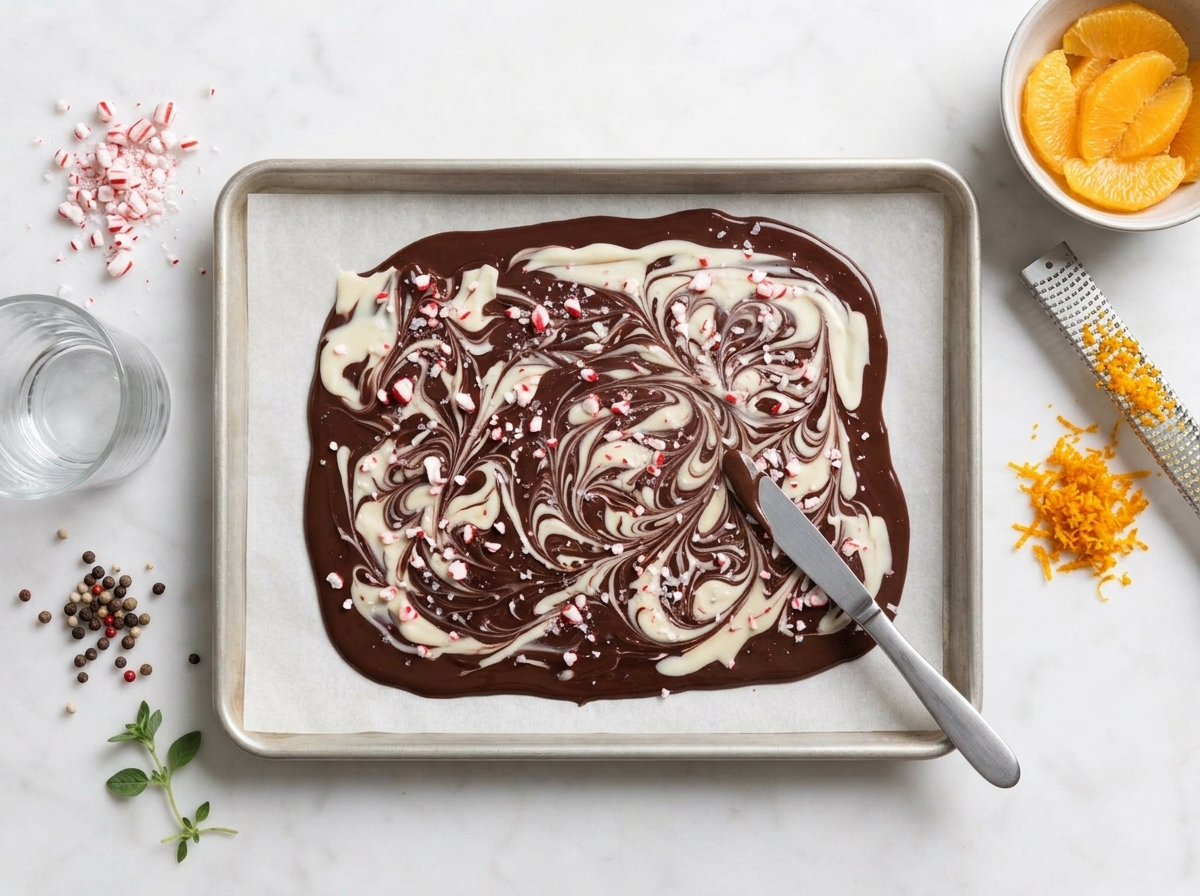
- Stir 1/4 tsp of the peppermint extract into the melted dark chocolate, then pour it onto the lined sheet pan. Spread into an even layer, about 6 mm / 1/4 inch thick, with an offset knife or the back of a spoon.
- Melt the sugar-free white chocolate in a separate microwave-safe bowl the same way, in 30-second bursts, stirring between each, until smooth.
- Stir the remaining 1/4 tsp peppermint extract into the white chocolate, then drop spoonfuls over the dark chocolate layer.
- Drag a knife or skewer through both layers in loose swirls to create a marbled pattern. Don’t overmix or the colors will blend into gray.
- Sprinkle the crushed sugar-free candy canes evenly over the top, then add a light pinch of flaky sea salt if using.
- Transfer the sheet pan to the fridge and chill for 30 to 45 minutes, until firm and cold with no give when pressed.
- Lift the bark out using the parchment overhang and break into uneven pieces by hand or with the back of a knife.
- Serve right away or store the pieces in an airtight container.
Notes
- Use chocolate specifically labeled sugar-free, not just dark or unsweetened.
- Work fast once chocolate is melted, it firms up quickly at room temperature.
- Break bark by hand for rustic shards instead of cutting clean squares.
- Store extra crushed candy canes in a sealed bag to prevent sticky clumping.
Tips for Success
- Melt chocolate in 30-second microwave bursts, stirring each time, so it doesn’t seize or scorch.
- Dry every bowl and utensil completely before melting chocolate, since even a drop of water causes seizing.
- Swirl the white chocolate into the dark layer while both are still warm so the marble pattern holds.
- Crush candy canes in a sealed zip-top bag with a rolling pin to keep sticky shards contained.
- Chill the pan on a flat shelf so the bark sets evenly and doesn’t slide before it firms up.
Variations
- Swap peppermint extract for orange extract and use crushed sugar-free chocolate orange candy for a citrus twist.
- Stir 2 tbsp crushed sugar-free peanuts into the dark chocolate layer before chilling for extra crunch and protein.
- Skip the white chocolate layer entirely for a simpler, deeper cocoa bark studded with peppermint flecks.
Storage and Reheating
Store the bark in an airtight container in the fridge for up to 2 weeks. Layer pieces between parchment so they don’t stick together as the chocolate softens slightly.
For longer storage, freeze pieces in a zip-top bag for up to 3 months. Let them sit at room temperature for 5 minutes before eating so the chocolate loses its fridge chill.
This bark doesn’t need reheating. Serve it straight from the fridge or after a short rest at room temperature, cold and crisp.
Serving Suggestions
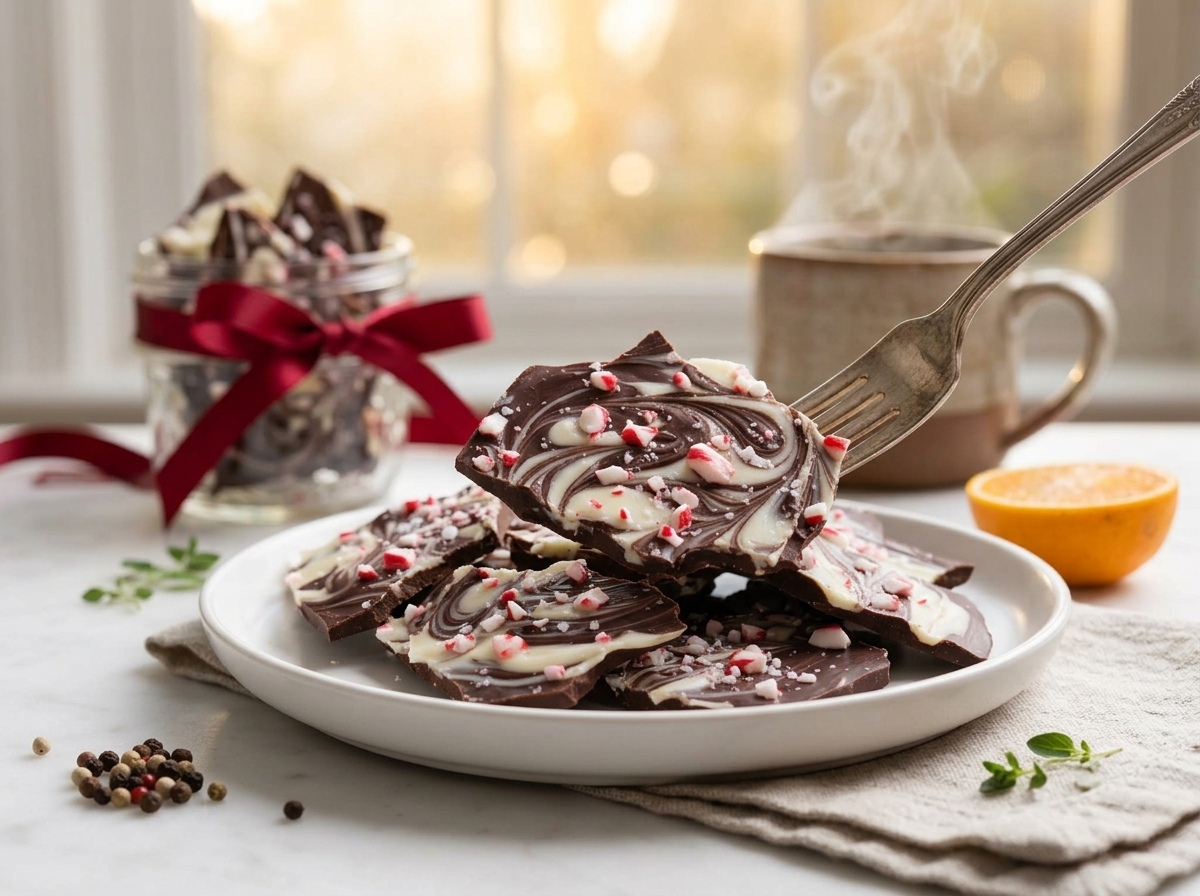
Pile broken pieces of sugar-free peppermint chocolate bark on a holiday platter next to sugar-free pistachio rosewater cookies or a bowl of mixed nuts.
It also makes a solid gift. Stack pieces in a small mason jar or cellophane bag tied with ribbon for teachers, neighbors, or coworkers watching their sugar intake.
For a quick dessert, crumble a piece over sugar-free vanilla ice cream or stir chunks into a mug of hot coffee.
FAQ
Why did my sugar-free chocolate bark turn out grainy instead of smooth?
Grainy bark usually means the chocolate seized from a drop of water or got overheated. Melt sugar-free chocolate in short 20 to 30 second microwave bursts, stirring between each, and keep every bowl and spoon bone dry. Once it seizes, there’s no fixing it, so start over with fresh chocolate.
Can I use regular chocolate chips instead of sugar-free for this peppermint bark?
Yes, regular dark or white chocolate chips melt the same way and give the same swirl. The recipe stops being sugar-free once you do, but the texture and peppermint crunch turn out identical. Swap it 1:1 by weight.
How far ahead can I make sugar-free peppermint chocolate bark for the holidays?
Make it up to 2 weeks ahead and store it in an airtight container in the fridge. You can also freeze pieces for up to 3 months if you’re prepping early for gifts or parties. Layer parchment between pieces so they don’t fuse together.
What goes well with sugar-free peppermint chocolate bark on a dessert table?
Sugar-free cookies, rosemary spiced mixed nuts, and clementines balance the sweetness and crunch of the bark. It also pairs well with black coffee or unsweetened hot cocoa since the bark carries plenty of flavor on its own. Keep other desserts lighter.
Is sugar-free peppermint chocolate bark actually low carb?
Yes, since the chocolate is sweetened with erythritol or stevia instead of sugar, net carbs stay much lower than classic peppermint bark. Check the candy cane label though, since some sugar-free versions use maltitol, which affects blood sugar more than erythritol does for some people.
How do I know when the bark is fully set and ready to break?
Press a corner with your finger. If it feels firm and cold with no give, it’s ready, usually after 30 to 45 minutes in the fridge. Break it with your hands or the back of a knife into uneven pieces for the classic bark look.